Getting Started — Hardware, Account Setup, and Your First Login
The Hardware Myth
Many warehouse managers assume that running a WMS means investing in dedicated barcode scanner guns, on-premise server infrastructure, specialised label printers, and a fleet of ruggedised handhelds. The total cost of that hardware can run to tens of thousands of dollars before a single order ships. This assumption is the single biggest reason small and mid-sized warehouses delay deploying a proper WMS — and it is no longer true.
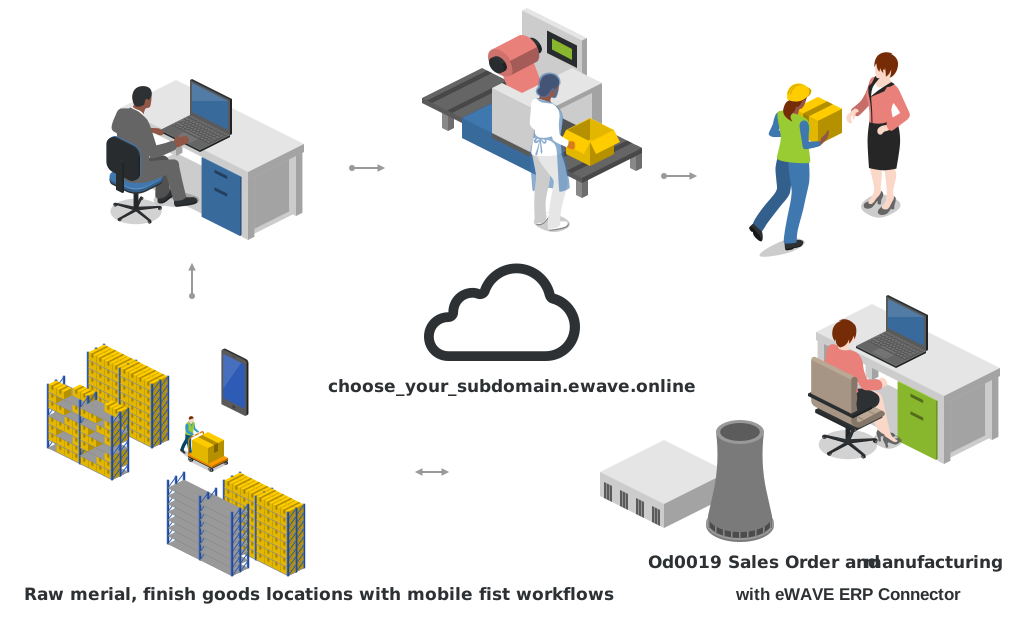
eWAVE is cloud-hosted, runs in any modern web browser, and the only specialised hardware the warehouse floor requires is a Bluetooth barcode scanner that clips onto your existing smartphone. The three-tier hardware stack — server, workstation, floor terminal — that proprietary WMS deployments require is replaced by: a cloud subscription, a browser, and a phone.
What You Actually Need
Windows, Mac, or Linux. Chrome, Edge, Firefox, or Safari. Any device purchased in the last 5 years running a modern browser is fully supported.
Any mid-range phone from the last 4 years. Screens down to 5 inches work well. The mobile interface is designed for one-hand operation in a warehouse environment.
Slides onto the back of the phone. Built-in laser reads barcodes on trigger press. Pairs once over Bluetooth. Eyoyo brand is well-tested with eWAVE.
Connected via WiFi or Ethernet to the warehouse network. Accessible from any workstation or mobile device. Required for carton and shipping labels; not needed for scanning-only workflows.
Detailed Hardware Specifications
| Smartphone — Minimum Requirements | |
|---|---|
| Operating system | Android 9+ or iOS 14+ |
| Screen size | 5.0 inches or larger (5.5"+ recommended) |
| Browser | Chrome 90+ or Safari 14+ (Chrome preferred) |
| Connectivity | WiFi 802.11n or better; Bluetooth 4.0+ for scanner |
| RAM | 2 GB minimum; 4 GB recommended for smooth performance |
| Storage | No local storage requirements — all data is cloud-hosted |
| Bluetooth Scanner Slider — Recommended Models | |
|---|---|
| Eyoyo EY-019B | Works with most Android phones up to 6.5" wide; trigger on right side |
| Eyoyo EY-020 | Universal bracket with adjustable width; suits most phone sizes |
| KOAMTAC KDC180 | Higher-end option; ruggedised; 1D and 2D barcode support |
| Scan type | 1D linear (Code 128, Code 39, EAN) is sufficient for eWAVE; 2D (QR) optional |
| Battery | Typical scanner sliders last 8–12 hours on a charge; charge overnight |
| Network Requirements | |
|---|---|
| Office / back-office | Standard broadband internet — minimum 10 Mbps recommended |
| Warehouse floor WiFi | 802.11n/ac access points with coverage across all picking aisles; -65 dBm signal or better at scanner height |
| Dead zones | Transactions cache briefly on the mobile device; however, consistent WiFi across aisles avoids scan-confirmation delays |
| Zebra printer | Same network segment as the back-office workstations; static IP recommended for reliable print-to-printer addressing |
Step-by-Step: Creating Your Account
Getting an eWAVE cloud account takes less than ten minutes. Here is the complete process:
-
Visit ewave.online and start your free trial Navigate to ewave.online and click Start Free Trial. Your trial runs for 30 days with full access to all modules — no credit card required. You can choose a paid plan at any time during or after the trial.
-
Enter your organisation details Provide your company name, country, and a primary administrator email address. This email becomes the Super User account for your deployment and receives all system notifications.
-
Choose your subdomain Your eWAVE instance will be accessible at a URL in the format
yourcompany.ewave.onlineor a custom domain if you prefer. Choose a short, memorable subdomain that represents your organisation. -
Receive your activation email Within a few minutes, you will receive an email with your temporary login credentials and a link to set your password. Follow the link to complete account activation.
-
Log in and install eWAVE modules From the Apps menu, install the eWAVE modules appropriate for your operation. Start with
ewave(base) andewaver(receiving). Addewavesandewavetwhen you are ready to configure outbound operations. -
Set your company and warehouse details Navigate to Settings → Companies and complete your company address, currency, and timezone. These values flow through to documents, labels, and reports — accurate information here avoids corrections later.
Setting Up Your First Mobile Terminal
Turning a smartphone into a warehouse scanner terminal is a three-step process that takes about five minutes per device:
-
Install Chrome (Android) or use Safari (iOS) On Android, Chrome is preferred for the best mobile web experience. On iOS, Safari is already installed and works well. Do not use third-party browsers with restricted JavaScript support.
-
Pair the Bluetooth scanner slider Turn on the scanner slider and put it into pairing mode (hold the power button until the LED flashes — consult your scanner's quick-start guide for the exact sequence). On the phone, open Bluetooth settings, select the scanner from the discovered devices list, and confirm pairing. The scanner appears as a Bluetooth keyboard. No app installation is required.
-
Log in to eWAVE from the phone browser Navigate to your eWAVE URL in the phone browser. Enter the mobile user's credentials. The system automatically detects a mobile browser and presents the mobile-optimised interface. Bookmark this URL to the home screen for one-tap access at the start of each shift.
Zebra Label Printer Setup
If your operation will print carton labels, ship-to-address labels, or LPN barcode labels, a Zebra thermal printer is the standard choice. Setup is straightforward:
- Connect the Zebra printer to your warehouse network via WiFi or Ethernet cable. Assign it a static IP address in your router or DHCP server so the address never changes.
- In eWAVE, navigate to Settings → Technical → Printers and create a new printer record. Enter the printer's IP address and port (usually port 9100 for raw ZPL printing).
- Assign the printer to one or more workstations or packing stations. When a user at that station requests a label, it prints automatically to the assigned Zebra without any manual print queue selection.
- For shipping labels in PDF format (for carriers that require PDF labels), a standard office laser or inkjet printer on the network can be assigned in the same way for that carrier's labels.
First Login Checklist
Before you begin configuring warehouse locations and workflows, complete these first-login housekeeping steps:
- Change the default administrator password to a strong, unique password and store it securely.
- Set the company timezone correctly (important for transaction timestamps and shift reports).
- Configure company details: legal name, address, VAT number, logo — these appear on all documents.
- Create at least one additional Super User (so the account is never locked out if the primary admin is unavailable).
- Install all eWAVE modules you plan to use in this deployment — installing later is always possible, but doing it now avoids data migration edge cases.
- Set the primary warehouse name and address — this drives ship-from details on all outbound labels.
- Verify that the email server is configured and sending (Settings → Technical → Email → Outgoing mail servers) — eWAVE uses email for exception alerts and report delivery.
Pilot Before You Commit
The cloud model means piloting eWAVE has an extremely low barrier. Many teams run a two-week parallel pilot where they continue existing operations while simultaneously logging all movements in eWAVE. This reveals configuration gaps — locations that need to be added, products that need dimensions entered, users who need additional training — without any risk to live operations.
During a pilot, focus on the three highest-value validations: (1) that the location hierarchy accurately models the physical warehouse, (2) that receiving discrepancies are flagged in real time at the dock, and (3) that the mobile scanning interface is comfortable and fast for your floor team. If all three work well, the pilot is ready to go live.
Key Concepts — Episode 2
- Cloud-hosted: no servers, no on-premise installation — account creation in under 10 minutes
- Back office: any laptop or desktop with Chrome, Edge, Firefox, or Safari
- Floor terminal: any Android or iOS smartphone (5" screen+, last 4 years)
- Scanner hardware: Bluetooth scanner slider (Eyoyo brand) — under USD 50, pairs as a keyboard, no app needed
- Label printing: network-connected Zebra thermal printer — assign to packing stations in eWAVE settings
- WiFi across all aisles is the only infrastructure prerequisite (-65 dBm or better signal)
- Pilot approach: two-week parallel run before going live — low risk, high validation value
- First login checklist: change password, set timezone, configure company details, install all modules